A hammock is a piece of fabric or netting that is suspended between two points, used for sleeping, resting or swinging. It is popularly used as a form of relaxation, especially in outdoor settings such as gardens, campsites and beaches.
One essential skill that every hammock user should know is how to tie a hammock knot. Properly tying a hammock knot not only ensures your safety but also enhances your overall experience. In this document, we will provide you with detailed instructions on how to tie a hammock knot and the different types of knots that are commonly used.
Types of Hammock Knots
There are different types of hammock knots that you can use depending on your preference and the type of hammock you have. The most common types include the following:
- End Loop Knot: Also known as the ‘Bowline’ knot, this is a strong knot used to secure one end of the hammock to an object such as a tree or post. It is widely used for its reliability and stability, ensuring a safe and secure attachment point for your hammock.
- Bowline on a Bight: This knot is similar to the end loop knot, but it allows for two attachment points on the same tree or post. By creating two loops, it provides added versatility and options for setting up your hammock. Whether you want a wider or narrower hang, the bowline on a bight knot has got you covered.
- Alpine Butterfly Knot: This knot is also used for attaching the hammock to an object and can be easily adjusted if needed. Its unique butterfly shape allows for effortless fine-tuning of the hammock’s height and tension. Whether you prefer a higher or lower hang, the alpine butterfly knot offers the flexibility to customize your hammock setup to your liking.
- Clove Hitch Knot: A simple and quick knot that works well for attaching the hammock to a pole or tree. With its easy-to-tie nature and reliable grip, the clove hitch knot provides a secure attachment point without the need for complex knotting techniques. It’s a go-to option for hassle-free hammock hanging.
- Double Loop Knot: This knot is used when you need to adjust the height of your hammock, as it can easily be untied and retied. With its double loop design, it offers a convenient way to fine-tune the suspension system of your hammock. Whether you want to raise or lower your hammock, the double loop knot ensures effortless adjustability for optimal comfort.[2]
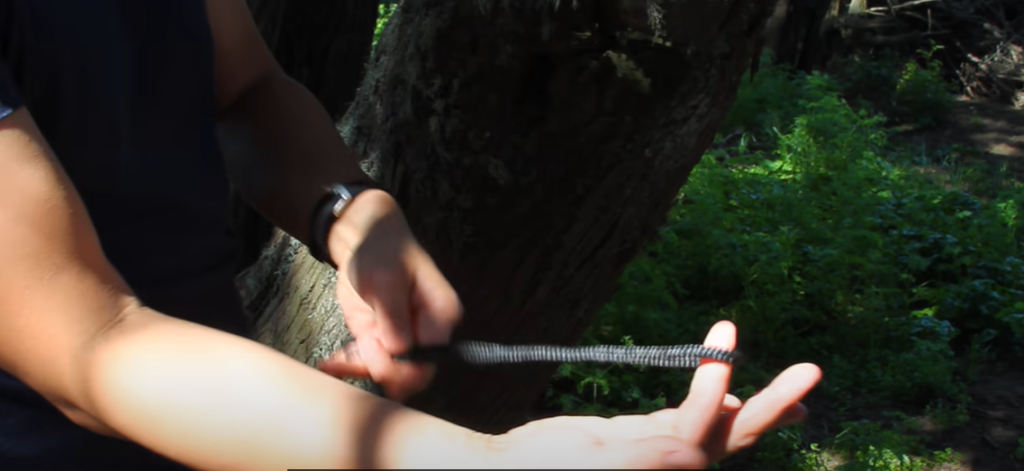
Basic Knots for Hammock Setup
Aside from the specific hammock knots mentioned above, there are also some basic knots that can come in handy for setting up your hammock. These knots not only serve practical purposes but also add versatility to your hammock setup. Let’s take a closer look at each one:
- Square Knot: This simple knot is perfect for joining two pieces of rope together securely. It’s an essential knot for attaching suspension straps or ropes to trees or posts. With its reliable grip, you can rest assured that your hammock will be safely suspended.
- Truckers Hitch Knot: When it comes to adjusting the height and creating tension in your hammock’s suspension system, the truckers hitch knot is your go-to. This versatile knot allows you to fine-tune the tension, ensuring optimal comfort and stability. It’s a handy knot for achieving a personalized hammock experience.
- Prusik Knot: Protecting yourself from the elements is crucial when hammock camping. That’s where the prusik knot comes in. This knot is commonly used for securing a tarp over a hammock, providing reliable protection from rain or sun. With its adjustable loop design, you can easily slide the knot up and down the rope or strap, allowing for quick adjustments to suit changing weather conditions.[2]
By mastering these additional knots, you’ll have a deeper understanding of hammock setup and be equipped with the knowledge to create a customized and secure hammock experience.
Advanced Hammock Knots
If you’re an experienced hammock user looking for a challenge, there are some more advanced knots to add to your arsenal. These knots require a bit more skill and practice but offer unique benefits and possibilities for your hammock setup:
- Marlinspike Hitch Knot: This knot is perfect for creating a ridgeline between two trees, which can serve as an additional attachment point for your hammock or a place to hang gear. Its adjustable design allows for flexibility in length and tension, making it a useful knot for various setups.
- Monkey Fist Knot: The monkey fist knot is commonly used as a weight at the end of a rope or cord. This feature makes it ideal for throwing over branches when setting up your hammock. With its compact and dense design, it’s also a great knot for tying up excess rope or cord to keep your hammock setup tidy.
- Lark’s Head Knot: This simple but versatile knot can be used for attaching webbing or straps to trees. It’s especially useful when you want to avoid damaging the tree bark with the weight of your hammock. By creating a secure attachment point, the lark’s head knot allows for safe and sustainable hammock hanging.[1]

Choosing the Right Rope for Hammock Knots
When selecting a knot, it is crucial to choose the right rope or cord that suits your needs. The ideal rope should possess not only strength and durability but also ease of handling. Nylon ropes, renowned for their high strength and resistance, are often favored due to their lightweight nature. On the other hand, it is advisable to steer clear of natural materials such as cotton or hemp, as they are prone to rotting or weakening when exposed to outdoor conditions. To ensure preparedness for various setups and situations, it is recommended to maintain a diverse range of rope lengths and thicknesses within your inventory. By considering these factors, you can confidently approach any task that requires the usage of knots with the utmost reliability and efficiency.[1]
Safety Tips
When it comes to enjoying the great outdoors in a hammock, safety should always be a top priority. Taking a few extra precautions can make all the difference in ensuring a safe and enjoyable experience. Here are some crucial safety tips to keep in mind:
- Always check the weight capacity: Before you settle into your hammock, take a moment to check the weight capacity of both your hammock and its suspension system. Knowing the limit will help you relax with peace of mind.
- Regularly inspect ropes and knots: Over time, ropes and knots can wear down due to exposure to the elements. Make it a habit to inspect them regularly for any signs of wear and tear. This simple step can prevent any unexpected mishaps.
- Mind the placement of knots: When tying your hammock, be mindful of the placement of your knots. Avoid tying them too close to the edge of objects, as this can lead to instability or slipping. Opt for secure and stable anchor points to ensure a worry-free lounging experience.
- Say no to damaged ropes: It’s important to never use damaged or weakened ropes for hammock setup. Before each use, carefully inspect your ropes for any signs of fraying, tears, or other damage. If any issues are found, replace the ropes immediately to maintain a safe setup.[3]
By following these safety tips and practicing proper knot tying techniques, you can create a secure and enjoyable hammock experience. Remember, taking the time to prioritize safety ensures that you can fully relax and unwind in nature’s embrace.
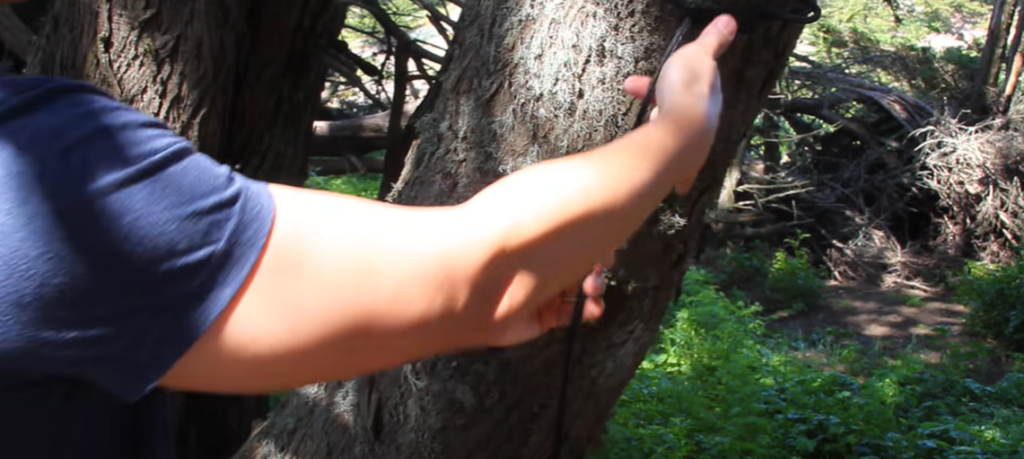
Step-by-Step Guide: Tying a Hammock Knot
To help you further enhance your hammock setup, here is a step-by-step guide on how to tie a basic square knot:
- Start by laying the two pieces of rope or strap parallel to each other. This ensures that you have enough length to work with and creates a solid foundation for the knot. It’s important to have ample rope so that the knot is secure and can withstand any tension or movement.
- Take one end of the right rope and cross it over the left rope. This creates the first loop of the square knot. By crossing the ropes over each other, you’re setting the foundation for a stable and reliable knot.
- Take the same end of the right rope and pass it under the left rope and pull it through the loop created. This completes the first half of the knot. This step adds an extra layer of security to the knot, ensuring that it won’t come undone easily.
- Now, take the other end of the right rope and pass it over the left rope. This forms the second loop of the square knot. By creating a second loop, you’re reinforcing the strength and stability of the knot.
- Take the same end of the right rope and pass it under the left rope and pull it through the loop created. This completes the second half of the knot. This step further strengthens the knot and prevents it from slipping or coming undone.
- Finally, pull both ropes simultaneously to tighten the knot, making sure there is no slippage or looseness. This ensures a secure and stable hammock setup, allowing you to relax and enjoy your time outdoors without any worries. With a tight and secure knot, you can rest assured knowing that your hammock is safely secured and ready for you to unwind and enjoy the serenity of nature.[3]
Congratulations, you have successfully tied a square knot! With practice, you’ll become more proficient in tying various hammock knots and creating your perfect setup. So go ahead, explore the endless possibilities of customizing your hammock experience with different types of knots.
Troubleshooting Common Knot Issues
Even with the best rope and knot tying techniques, sometimes issues can arise. Here are some common problems that you may encounter while tying hammock knots and how to troubleshoot them:
- Slippery ropes: If your ropes are too slippery, it may be challenging to tie a secure knot. To solve this issue, try using ropes with more texture or grip, such as ones made from nylon or natural fibers like hemp. Another option is to wrap the ropes around each other multiple times before tying the knot, creating more friction and stability.
- Knot coming undone: If your knot keeps coming undone, you may have tied it too loosely. It’s important to ensure that each step of the knot-tying process is followed correctly, including tightening the knot firmly. Additionally, consider using a knot-securing technique such as adding an extra loop or creating a double knot for added security.
- Uneven rope tension: When setting up a hammock with two suspension points, it’s common for one side to have more tension than the other, resulting in an uneven setup. To fix this, carefully adjust the ropes and knots accordingly. You can try using adjustable straps or additional hardware like tensioners to fine-tune the tension on each side until both sides have an equal amount of tension and the hammock hangs level.
- Struggling to untie knots: If you’re having difficulty untying your knot after use, it’s important to approach it with patience and caution. One technique you can try is to loosen the knot by gently pulling on individual loops or sections of the knot. Another option is to use a tool like a small carabiner or a knot-untying tool, which can provide additional leverage and make the untying process easier. Remember to take your time and avoid pulling too forcefully to prevent any damage to the rope.[4]
By troubleshooting these common issues, you can quickly and easily fix any problems with your knots and ensure a secure setup every time. Remember to always prioritize safety and regularly inspect ropes and knots for optimal functionality.
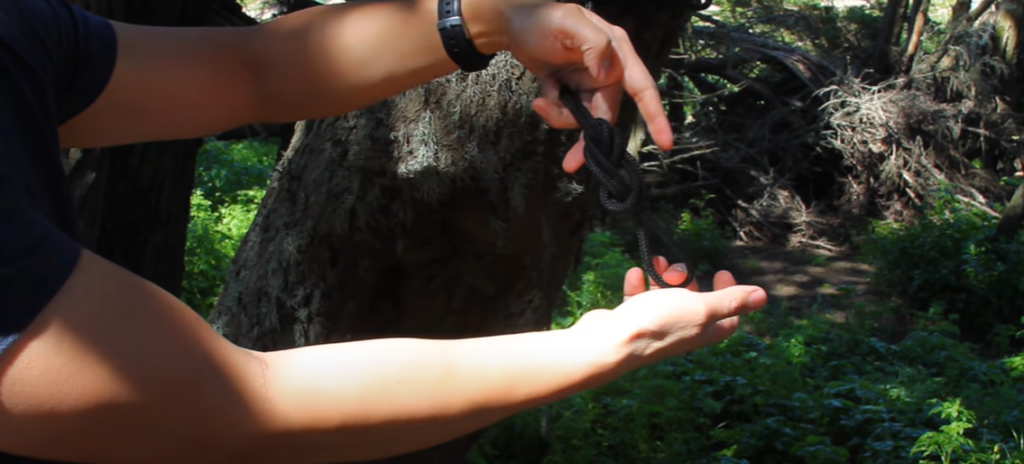
Maintenance and Inspection
To ensure the longevity and safety of your hammock setup, it’s essential to regularly inspect and maintain your ropes and knots. Here are some maintenance tips to keep in mind:
- Store ropes properly: When not in use, it is important to store your ropes in a cool, dry place away from direct sunlight or moisture. This is because exposure to the elements, such as prolonged sunlight or dampness, can cause damage or weakening of the ropes over time. By storing them in a suitable environment, you can prolong the lifespan of your ropes and ensure they remain strong and reliable for future use.
- Avoid sharp objects: When setting up your hammock, it is crucial to be mindful of any sharp objects that may pose a risk to your ropes. This includes rocks, branches, or other debris that may be present on the ground. By carefully inspecting the area and removing any potential hazards, you can prevent accidental damage or cuts to your ropes, ensuring they remain intact and secure.
- Clean and dry ropes after use: After each use, it is advisable to clean and thoroughly dry your ropes before storing them away. This is particularly important if your ropes have become dirty or wet during use. By cleaning them, you can remove any dirt, grime, or residue that may have accumulated, preventing the growth of mold or mildew. Proper drying is also essential, as damp ropes can weaken over time. By maintaining cleanliness and dryness, you can extend the lifespan of your ropes and ensure their continued strength and reliability.
- Regularly check for wear and tear: Before each use, it is recommended to inspect your ropes and knots for any signs of wear and tear. This includes checking for fraying, weakening, or any other visible damage that may compromise the integrity of the ropes. If you notice any issues, it is crucial to replace the affected ropes or knots before using them again. Regular inspections and proactive maintenance will help ensure the safety and longevity of your ropes, allowing you to enjoy worry-free outdoor adventures.[4]
FAQ
How do you tie the end of a hammock?
To tie the end of a hammock, there are several options depending on the type of hammock and suspension system you are using. Some common methods include tying a looped knot at each end of the hammock, using carabiners or rings to attach the hammock to straps or trees, or using specialized hardware such as whoopie slings or snakeskins. Always refer to the manufacturer’s instructions for specific tying techniques for your equipment.
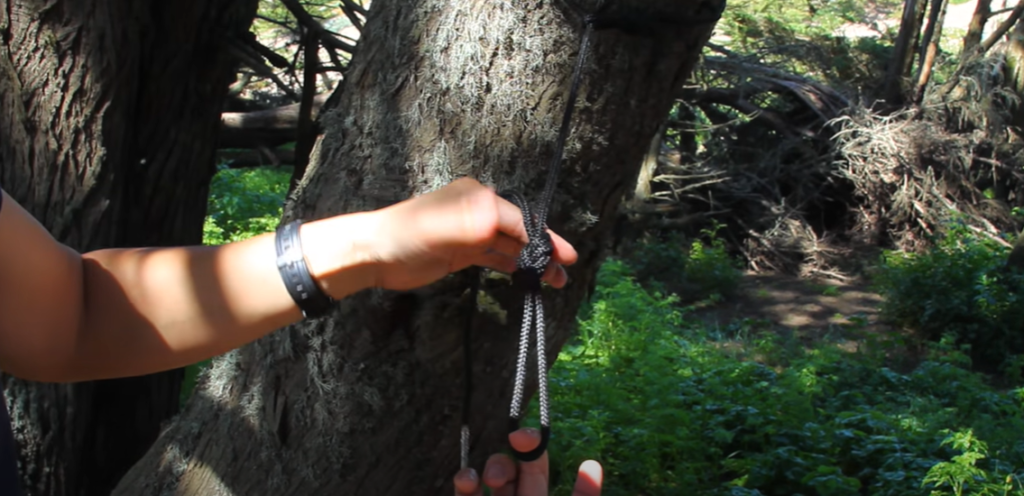
How do you tie a hammock to an eye bolt?
To tie a hammock to an eye bolt, start by looping the end of your rope or strap through the eye bolt and securing it with a knot. You can use a simple looped knot or a carabiner for added security. Then, attach the other end of the rope to your hammock using your preferred tying method (e.g., figure-eight knot, carabiner, etc.). Make sure to test the hammock’s stability and adjust as needed before fully using it. Remember to regularly check the eye bolt and surrounding area for any signs of damage or wear.
How do you tie a Hennessy hammock knot?
To tie a Hennessy hammock knot, start by attaching the suspension ropes to the hammock’s apex using carabiners or other hardware. Then, wrap each rope around its corresponding tree and bring it back to the hammock’s apex. Finally, tie a simple overhand knot at the apex of the hammock, pulling tightly to secure the tension on each side. You can also use additional hardware or adjust the length of the suspension ropes to fine-tune the tension and angle of your hammock setup.
How do you tie a Hanover knot?
To tie a Hanover knot, start by creating an overhand loop in the middle of your rope or strap. Then, bring the end of the rope up through the loop and back down behind it, creating a second loop. Bring the end of the rope back up through this second loop and pull tight to secure the knot. The resulting shape should resemble two interlocking loops. This knot is commonly used in hammock setups to create a secure attachment point without the need for hardware or multiple knots.
How do you tie a hoisting knot?
To tie a hoisting knot, start by tying a simple overhand knot with the end of your rope. Tighten the knot and create a small loop near the top. Then, bring the loose end of the rope up through this loop and around both sides of the main rope, creating an additional loop. Pull tight to secure the hoisting knot. This is a useful knot for creating a secure attachment point higher up on a tree or post, allowing you to hoist your hammock to your desired height.
How do you tie a Victoria knot?
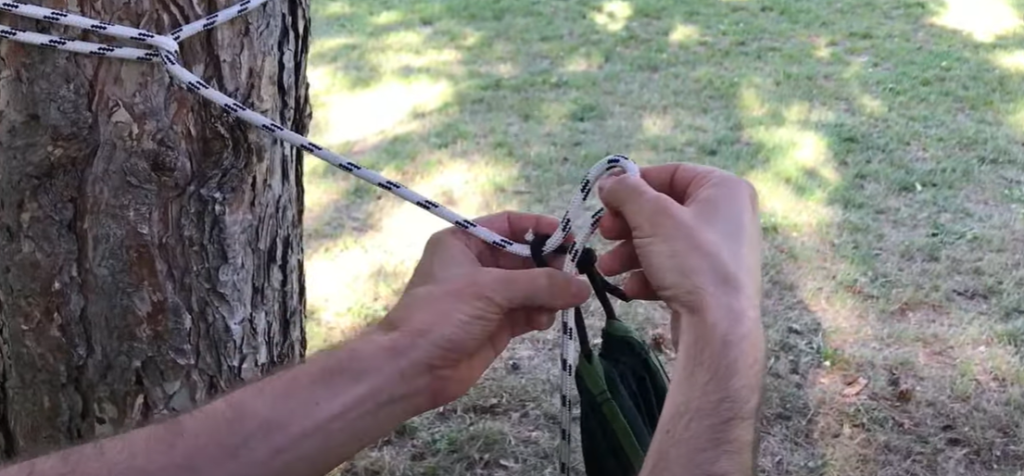
The Victoria knot is a variation of the square knot and is commonly used in hammock setups. To tie a Victoria knot, start by crossing the two ropes or straps you want to join, with one end on top and one end on the bottom. Then, bring the top end under both ropes and up through the loop created. Next, bring the bottom end over both ropes and down through the loop. Adjust the tension on each side and pull tight to secure the knot. This creates a strong, symmetrical knot that is ideal for joining two pieces of rope or strap together for a hammock setup.
How do you tie a Bimini knot?
To tie a Bimini knot, start by creating a loop in your rope or line. Then, make a second smaller loop within the first one and bring the top end of the smaller loop up through the bottom of the larger loop. Twist this small loop eight to ten times, then pull both ends of the larger loop to tighten and secure the twists. Finally, bring the top end of the smaller loop back down through the larger loop and pull tight. This creates a strong, secure knot commonly used in fishing and boating applications, but can also be useful in hammock setups for creating adjustable suspension lines.
Useful Video: The Only Knot You Need to Hang a Hammock
Conclusion
In conclusion, tying a hammock knot is an essential skill for any outdoor enthusiast. By understanding the different types of knots and their appropriate applications, you can ensure a safe and secure setup for your hammock. Remember to always follow manufacturer’s instructions and regularly inspect your ropes and knots for wear and tear. With proper maintenance and care, your hammock knots will last longer and provide a comfortable and enjoyable outdoor experience. So next time you’re ready to relax in your hammock, don’t forget the importance of a well-tied knot! Happy hammocking!
References:
- https://republicofdurablegoods.com/blogs/field-guide/how-to-tie-hammock-knots
- https://www.wikihow.com/Tie-a-Hammock-Knot
- https://wildernessredefined.com/how-to-tie-a-hammock-knot/
- https://hobohammocks.com/the-only-hammock-knot-youll-ever-need/






Leave a Review